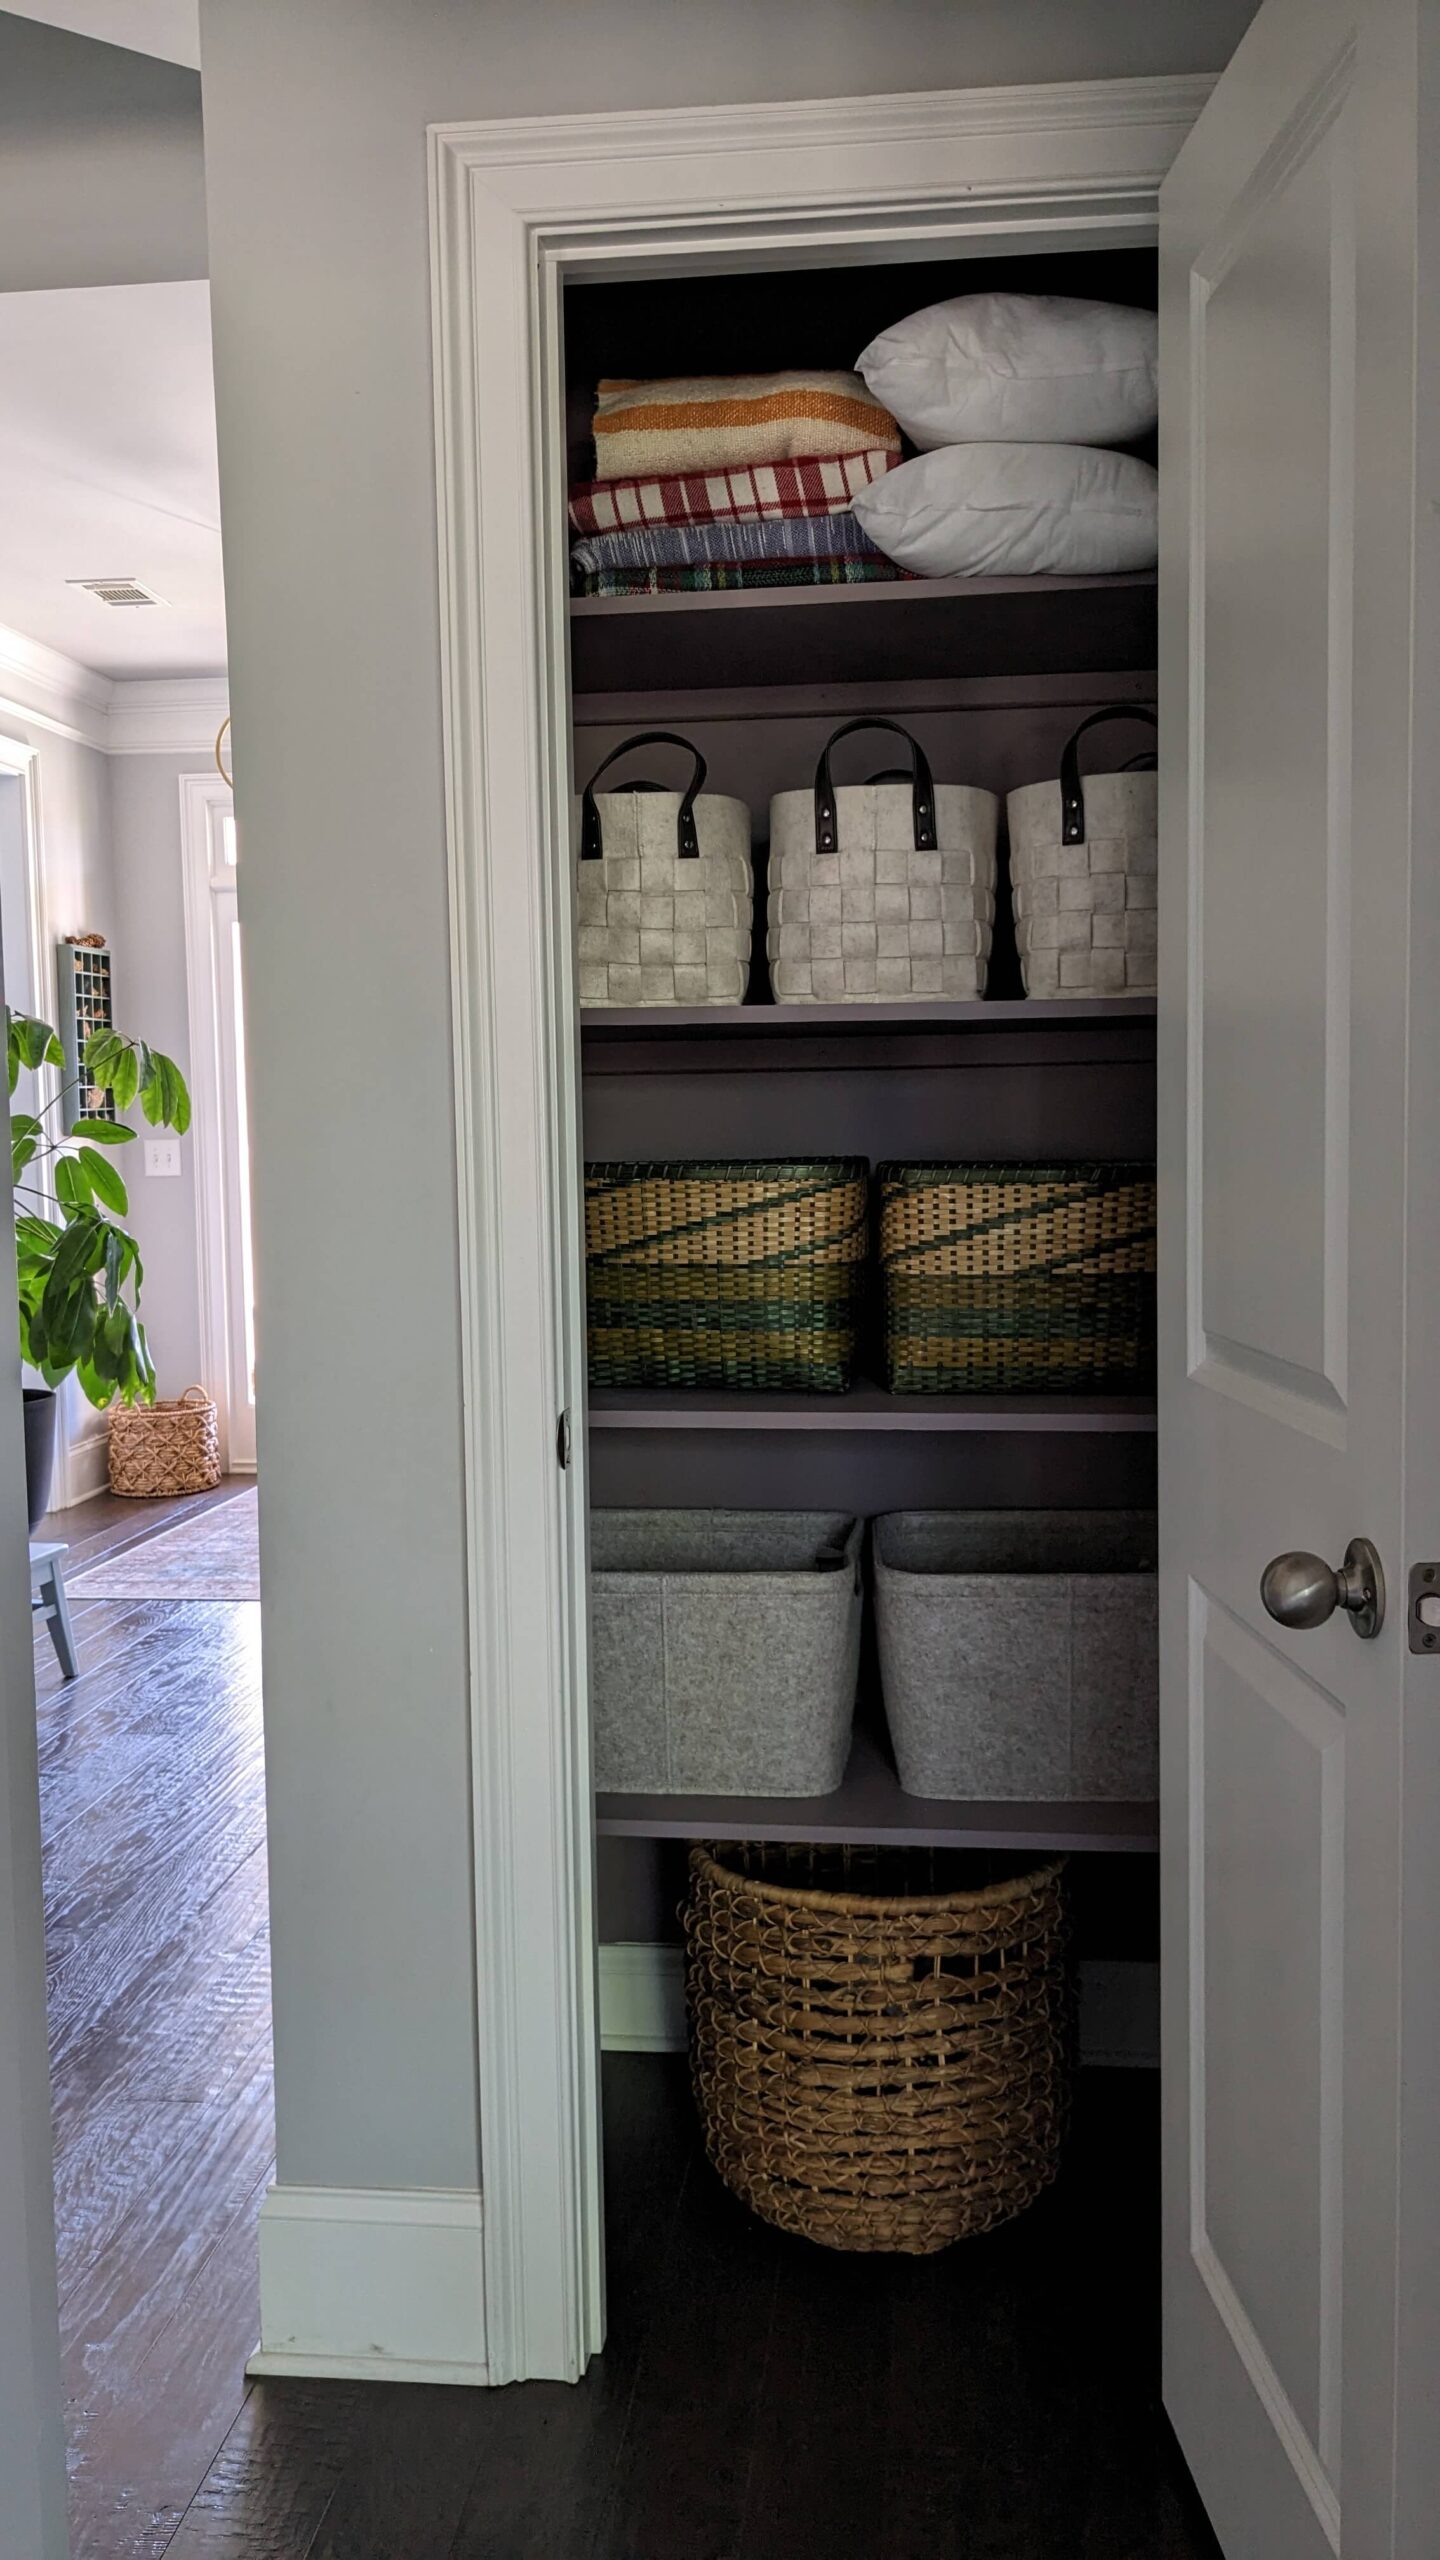
Here’s how I turned my cluttered linen closet with a wire rack into an organized and efficient storage space. In this tutorial, I’ll walk you through the process of swapping out the wire rack for sturdy wooden shelves, providing a step-by-step breakdown of the project.
Tools:
- Stud Finder
- Tablesaw
- Circular Saw
- Drill & Driver Set
- Star Head Screws
- Paint (one can of sample paint from Sherwin Williams) Color: Enigma
- Painting Materials
- Laser Level
- Safety Goggles
- Ear Protection
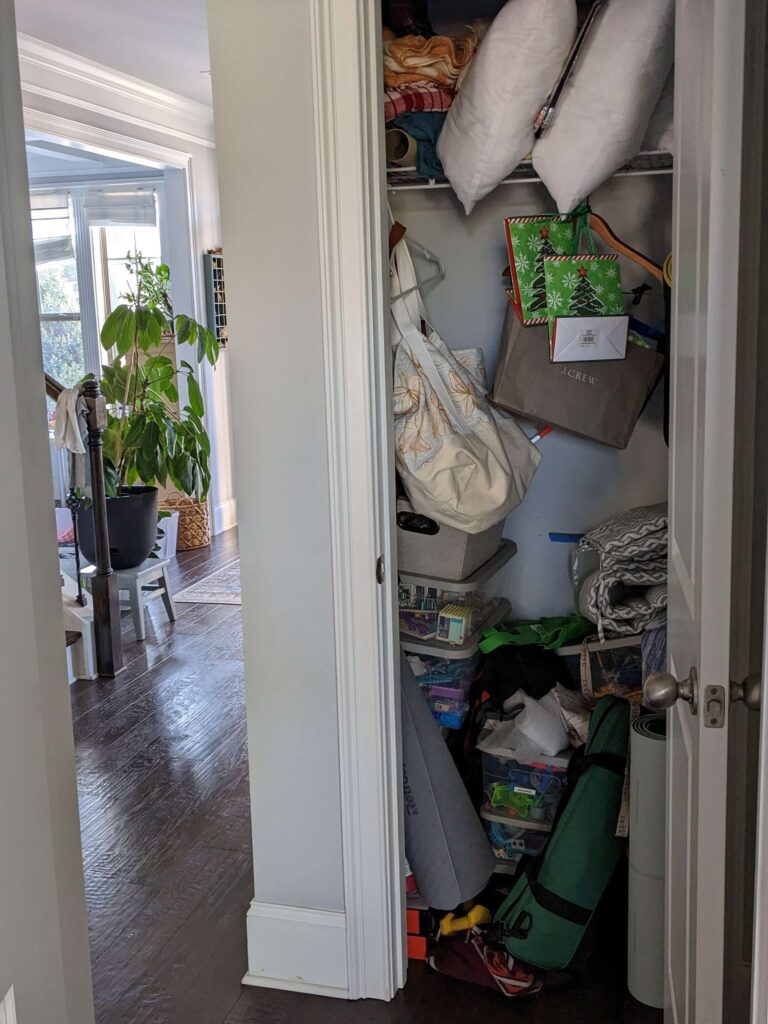
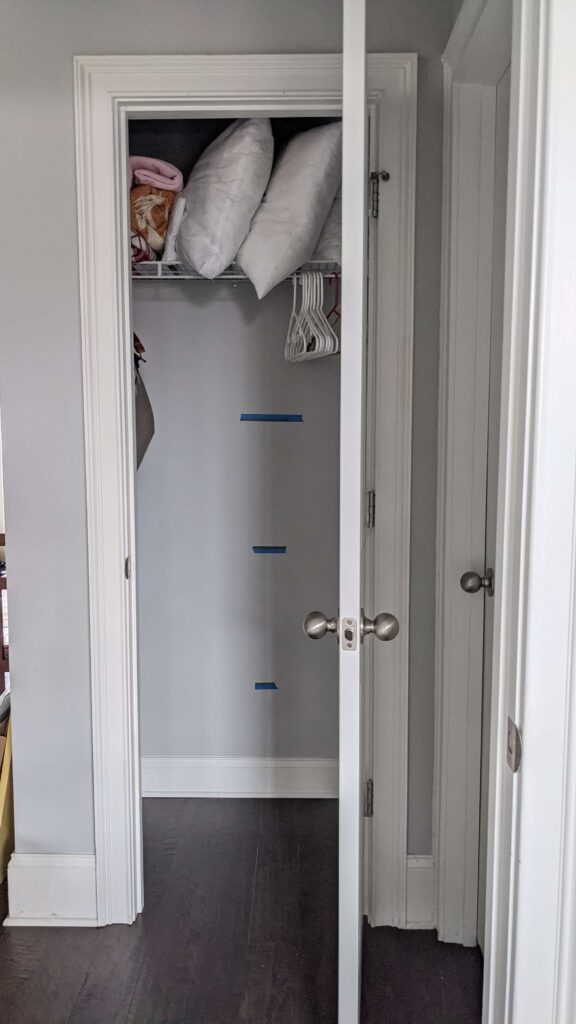
Step 1: Clearing and Planning
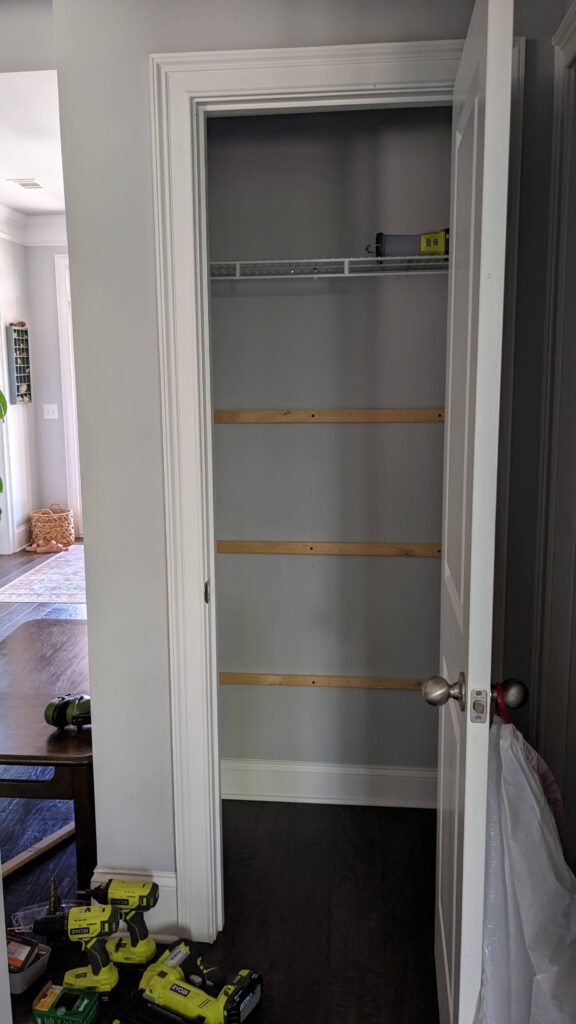
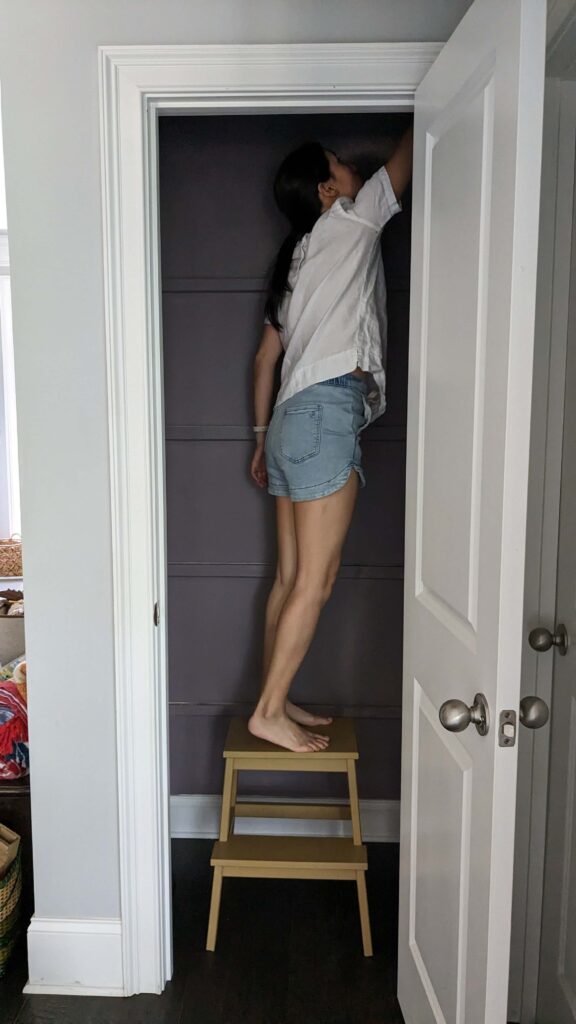
Start by clearing out the clutter and using painter’s tape to mark the ideal shelf locations. I opted for 18″ spacing between each of the four shelves. Our ceilings are 9′ for reference.
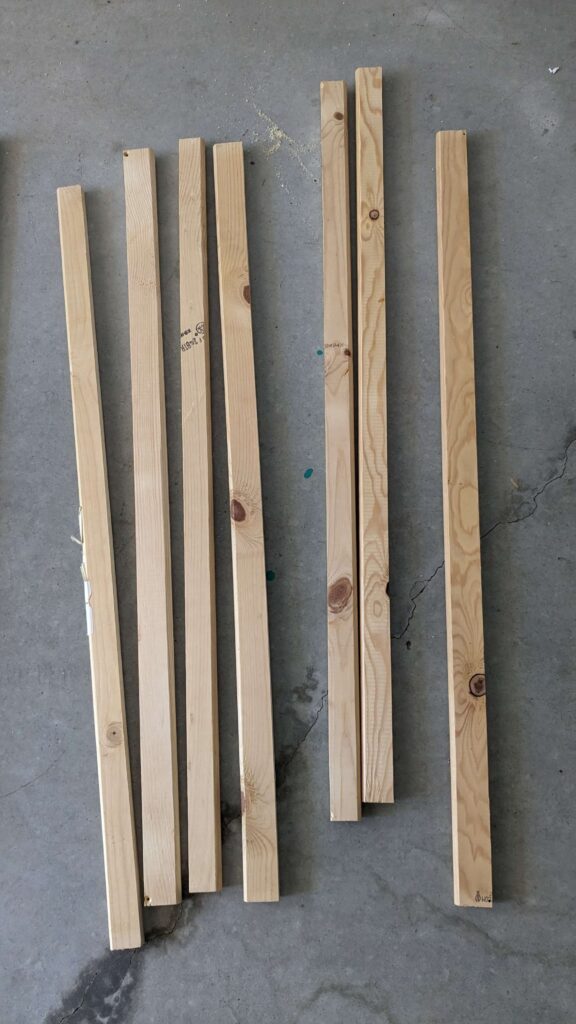
Step 2: Building Sturdy Support
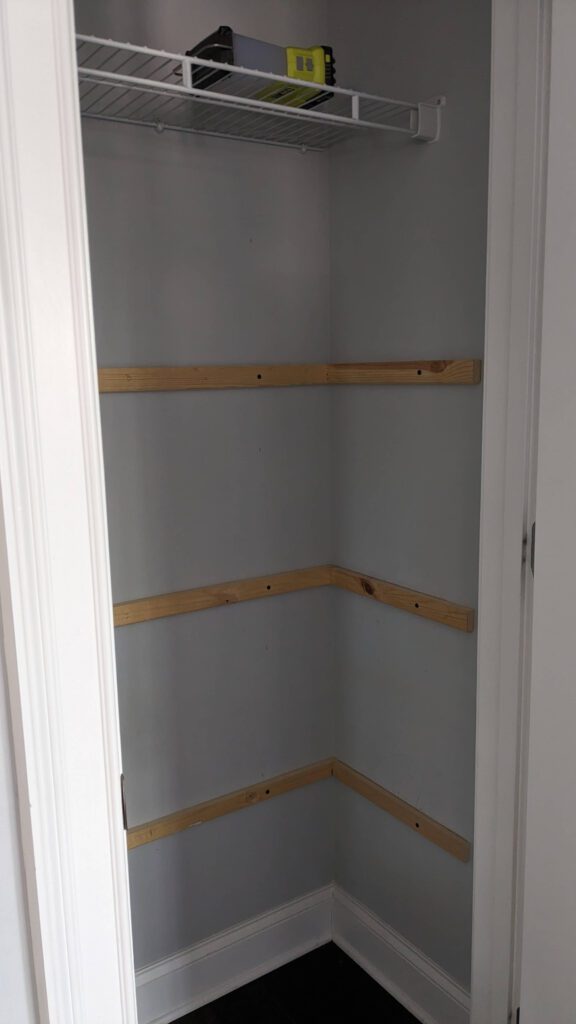
I repurposed slats from an old bed frame as support for the shelves. By splitting them with a table saw, I created a three-sided support structure – left, middle, and right – ensuring the shelves could handle the weight of various items without sagging. If you don’t have any scrap wood, you can use inexpensive 1″x2″ furring strips from the hardware store.
Step 3: Attaching Support to Wall
Locate the studs in your wall using a stud finder and attach the support using high-quality star head screws. Trust me, it’s worth it to invest in these. The screws will go in like butter.
Step 4: Choosing and Preparing Plywood Shelves
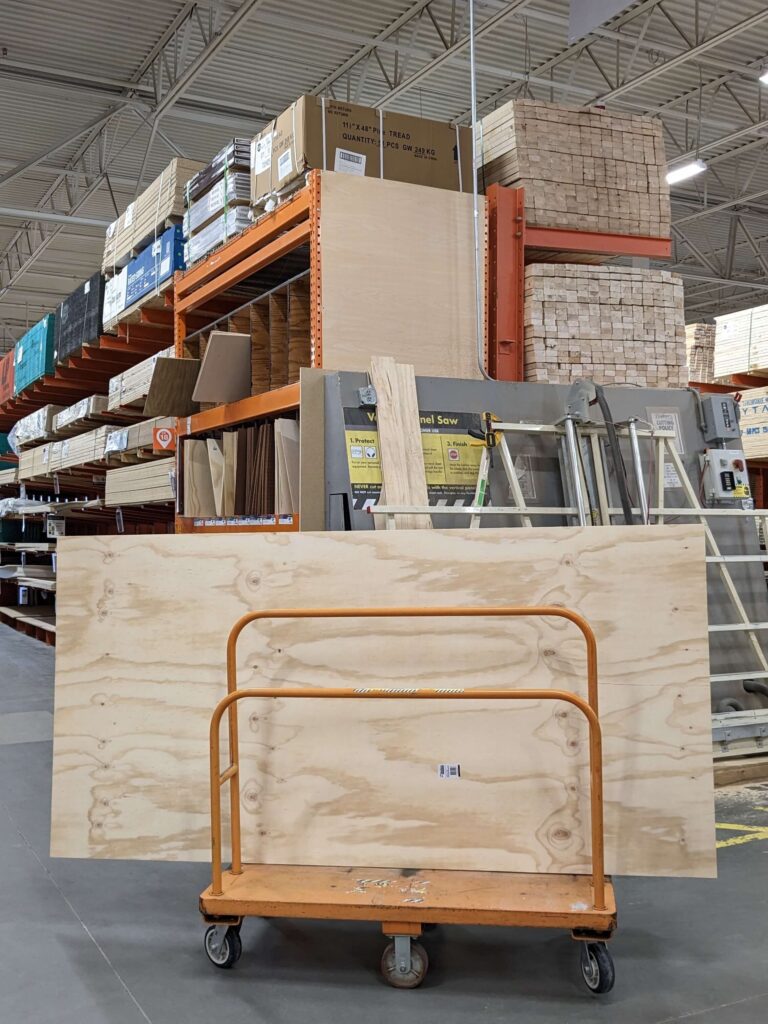
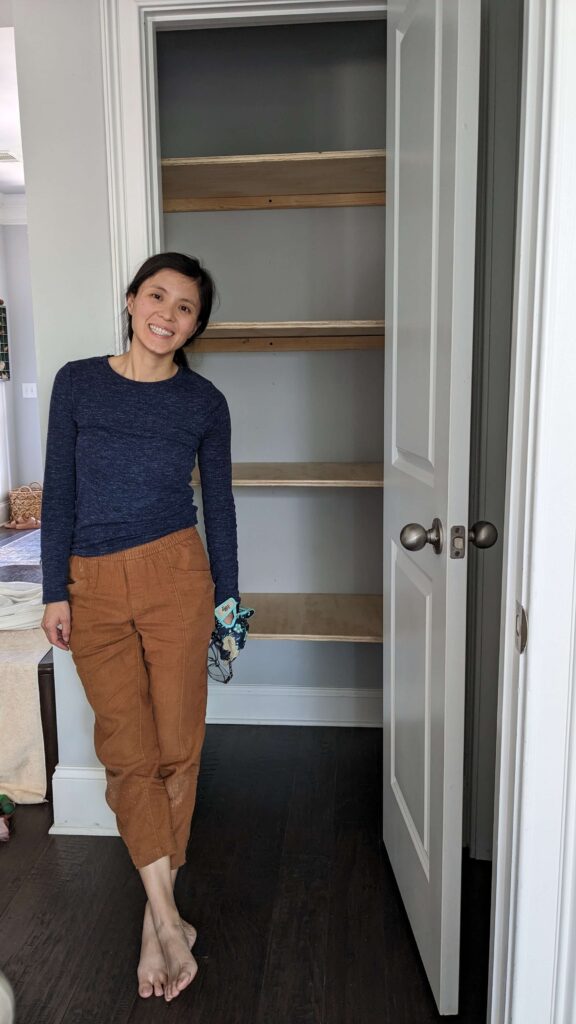
For the shelves themselves, I purchased a 4’x 8′ plywood sheet from Home Depot and cut it to size at home. I did each shelf individually because the walls were not perfectly square.
Step 5: Finishing Touches
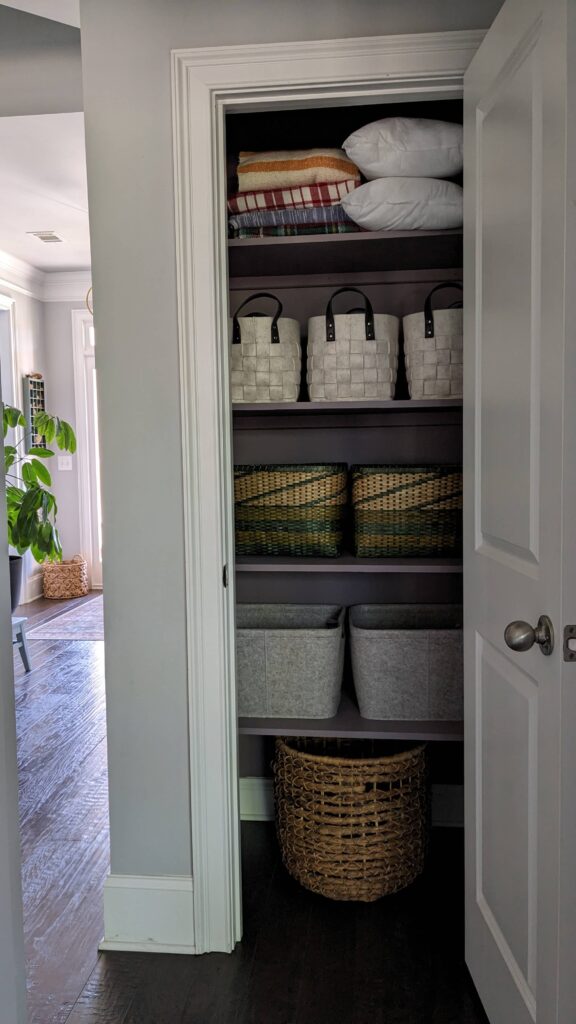
For a fun pop of color, I painted everything Sherwin Williams Enigma SW6018. It’s so fun to see that pop of color when I open the door.
Optional: I also added edge banding to cover the front of the plywood for a sleek, finished look.

Project Recap:
Timeline: 2 days (one for building shelves, one for painting)
Cost: Less than $100 (my cost: plywood $53, can of sample paint $6, edge banding $9)
(Tools not included in project cost)
+ Show / Hide Comments
Share to: